Google and other search engines like Bing, use special algorithms to decide whether products should appear in search results when potential buyers are looking for our crafts.
To optimise our products, firstly they should be listed clearly for real human beings. They’re our potential customers who are using search engines to find our handmade crafts. Search engine optimization (SEO) is about putting your site’s best foot forward when it comes to visibility in search engines, whilst having your products listed in a way that’s also easy and enticing for our customers.
So with that in mind, here’s the box of tricks:
- Create accurate product titles
- Have clear structured product url’s
- Add valuable content in our product descriptions
- Add product categories and tags
- Tell Google what our photos are
- Add meta data
Let’s have a look at how one of our Crafties products has been improved so it can be more easily found:
Step 1: Find a product to optimise.
Go to Products:
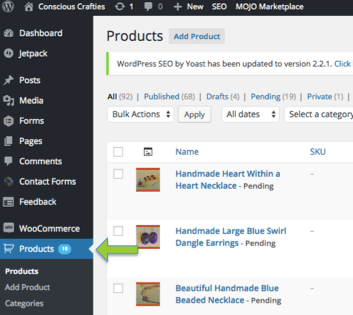
Select ‘Pending’ products, these are ones added by Crafties that need optimising before publishing on the website:

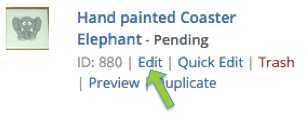
Select a product in the list by hovering over the item and clicking ‘Edit’
Step 2: Optimise product title
The title should be concise and to the point. It should also have the main keyword as close to the beginning of the title as possible. Keywords should be one word or a phase that is exactly what the product is.

The main keyword here should be ‘Coaster’. So it would be best to re-arrange the words so that ‘Coaster’ is closer to the start eg:

You can see that I’ve changed the font case to be upper case for first letter, then all other characters are lower case. This makes all product titles look the same when they are displayed alongside each other.
Step 3: Improve product URL
Under the product title you will see the url link for the product. It will still have the old product title in the url:
This can be fixed simply by clicking ‘Save as Pending’ once you have amended the product title.
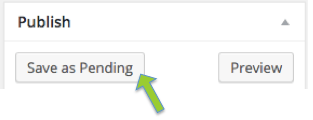
The url link will then change to be the same as the product title 🙂

Step 4: Improve product description
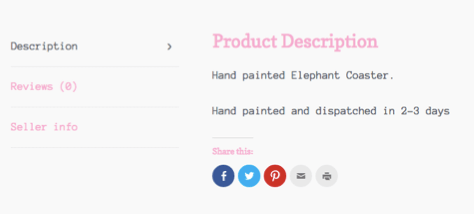
The product description is the longer description and is the first box you come to on the Add/Edit Product screens. It appears lower down on the product page on the website – users need to scroll down the page to see:
Ideally a product description needs lots and lots of words to improve it’s chances of being found. The coaster was a difficult one to add to! If this is quite short, give me a shout and I’ll get in touch with the Crafty to ask for more text, as obviously we can’t add any information to anyone’s descriptions. All we can do is try to add the special keyword within their text like I added ‘Coaster’ – it previously just said ‘hand painted with elephant’.
Step 5: Add product categories and tags
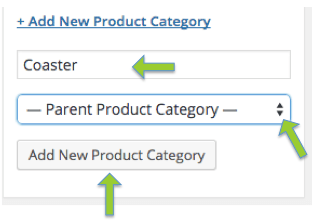
Check that all of the relevant categories (plus parent categories) have been ticked. Parent category ‘Home’ is a parent category to ‘Sun catcher’ – both need to be ticked. Whilst we are building up the site and new products come on board, we may need to add new categories. With the power of the admin log on, we can add more. Click ‘Add new product category’:

You can type in the new product category and choose whether it should have an existing parent category (if applicable). If you don’t give it a parent, the new category will become a new parent category:
Now check that the Craftie has added some tags. You may want to add a few more here. To add more than one, separate with a comma:

Step 6: Add the dispatch info
This isn’t to optimise the product, it’s because I need to find out how to display the field on the website! For now, I’m needing to insert the dispatch info into the short description of the product Zzzzz (sorry!)
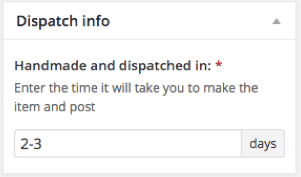
So I transfer that info in text like this under the existing short description text (if there’s no text in here already, can you add a short description, as this is often left blank!):
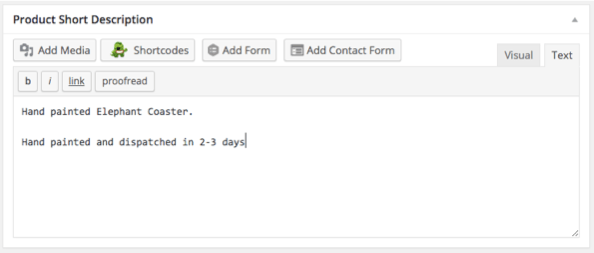
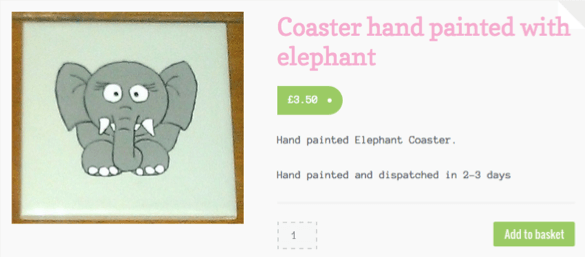
For info: the short description appears alongside the product photo on the website:
Step 7: Add tags to Featured Image
Google can’t tell what images are unless we tell it. The way we do that is to add words to explain what it is. This part is on the Crafties help guide so they should have added the words (tags), but could you check that they have and they have included the keyword? Click on the image to see the tags (be careful not to click on the ‘remove featured image’ link under the image (can’t tell you how many times I’ve done that!!):
I sometimes copy and paste the product title which now has the keyword, into all three areas:

Step 8: Add the Meta data
Meta data is one of the main ways Google finds out what the product is:
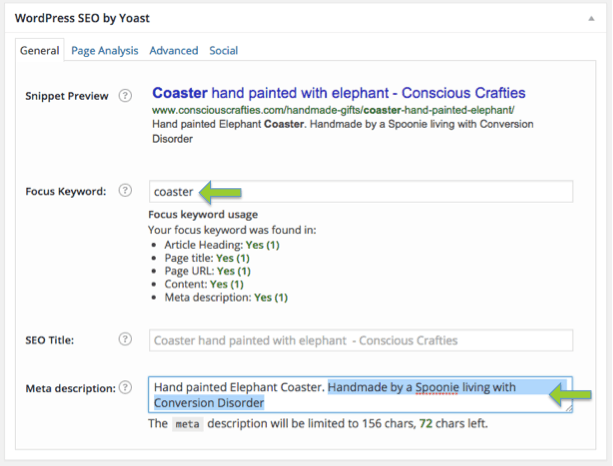
This is where you add the ‘Focus keyword’ or phase eg ‘coaster’. You then need to try to mention that keyword or phase in the ‘Meta description’. I normally copy and paste the first line of the description here. Then, as you need to add 156 characters, I normally add ‘Handmade by a Spoonie living with XXXXX’. I then look on the Meet the Crafties page to find the seller to remember what conditions they are living with! I remember, but don’t trust my foggy brain! You should be seeing “Yes’ (in green) appear against the Focus keyword check list 🙂
Step 9: Check SEO, Save and Publish
To check the SEO, click ‘Save as Pending’. Hopefully the SEO coloured dot should turn from red to amber or green. This is great and means you’ve helped a Crafties product get found on Google 🙂
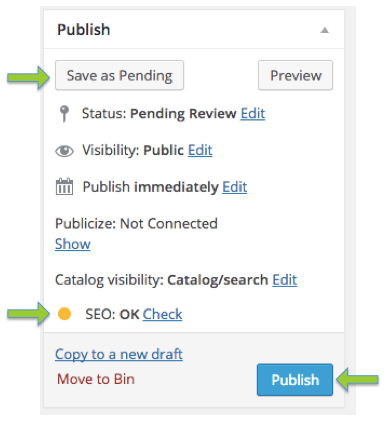
Then click ‘Publish’ and it’s live and optimised! 🙂 Thank you soooo much xxx